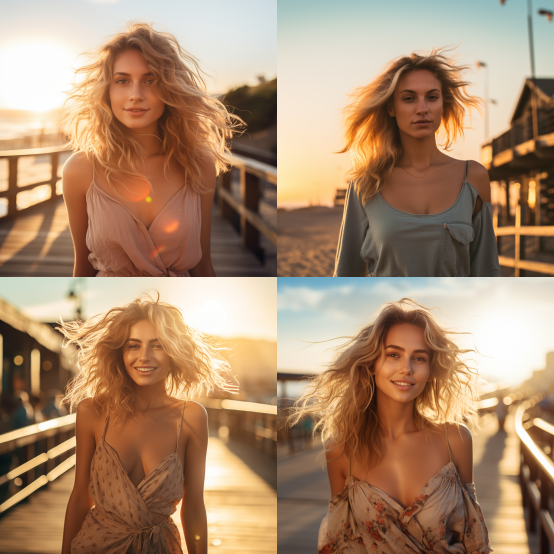
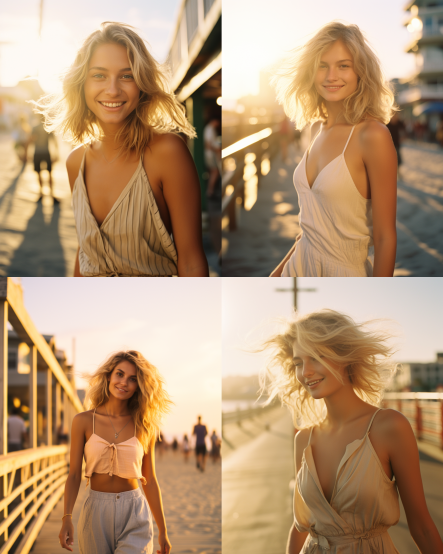
Looking at what AI image generators can create now, it’s evident that these have gotten exponentially better in a short period of time. There aren’t many wonky hands or scary smiles anymore, but this doesn’t mean you’ll get the image results you want with uninspired AI art prompts.
A good prompt will get you good results, so imagine what you can achieve with a great prompt. If you’re struggling to write a descriptive prompt that reflects what you want, we’re here to help!
From a good, basic prompt structure to keywords that will improve your final image, let’s review what you should include in your AI art prompts and why.
How Does AI Work?
Before we get into how to write AI image prompts, let’s take a moment to understand how AI image generators work with written prompts. Understanding even just the basics of this will help you become a better prompt writer.
First off, an AI image generator is not a person. Think of it like a robot or a computer that doesn’t interpret the words in your prompt like a human would. Instead, it takes the words in your prompt and interprets them based on data that has been fed to it. The image generator can’t get into your brain and produce an image based on the context in your mind. It will instead use the context it has based on the information that it has been fed.
Next, descriptive words are key when writing a prompt, but steer clear of descriptive words that are subjective. For example, if you want to create an image of a pretty house, pretty isn’t descriptive enough. Pretty is a vague word that leaves a lot of room for interpretation. Because of this, you can run a simple prompt that says pretty house multiple times and get drastically different results each time.
Finally, including too many details in your prompt can also backfire. Some details may cancel each other out while others may go ignored by the AI because it’s just too much. Find the balance to create the perfect image without leaving out important details.
With that out of the way, let’s go over how to write AI art prompts for the best results.
1. Use a Basic Prompt Structure
Whether you’re a newbie or are just having trouble creating a prompt for what you have in mind, it helps to start with the basics. While a basic prompt may not have all the pizzazz of a more descriptive prompt, it’s a great starting point that you can add to later on.
To create your basic prompt structure, start by defining the subject of your image. This may be a person, an animal, a setting, or anything else you want as the focus of your image.
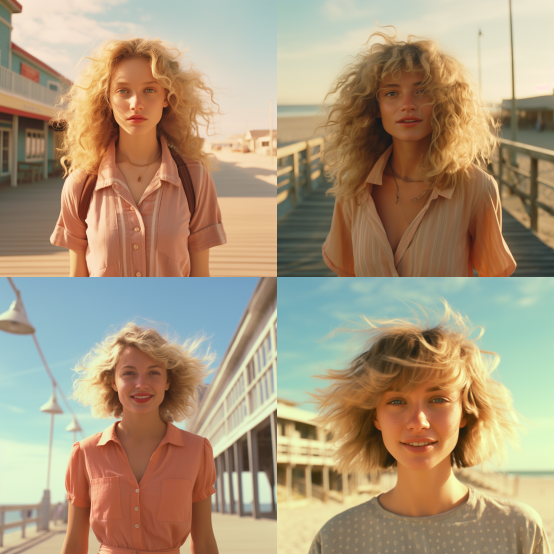
After that, describe your subject’s appearance based on what you have in mind. Is this an image of a young blonde woman with a bob or a middle-aged bald man with a mustache? As you can tell, these details will have a huge impact on your final result.
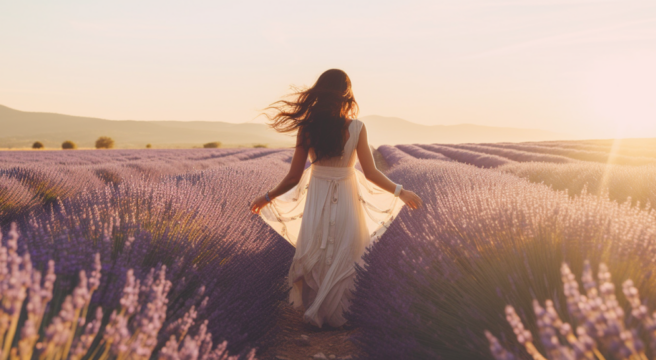
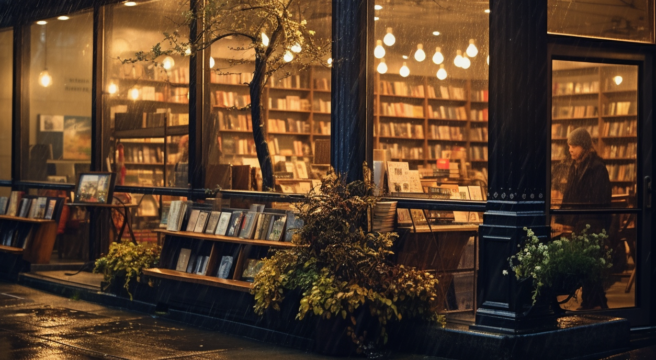
Next, describe the location of the image. Even if your subject is a location, you can take this further. For example, if your subject is a lake, describe what surrounds the lake. Is it surrounded by pine trees or a snowy scene? If your subject is a person, they might be on a street, in a park, or in a coffee shop.
After that, focus on describing the action you want in your image. If your subject is a person, they may be sitting, walking, or even singing. If your subject is a location, think about what’s going on in the image. In the lake example, are there children swimming in it, or is it completely still?
Combine these key details to create a basic prompt that is descriptive and detailed enough to result in a solid image. You can run your prompt just like this and see what you get.

2. Incorporate Words to Set the Mood for Your Image
To take your basic prompt one step further, focus on setting the mood in your image. This can be done in a couple of ways, so you can choose whichever you’re more comfortable with or even combine both of these methods as you generate AI images.
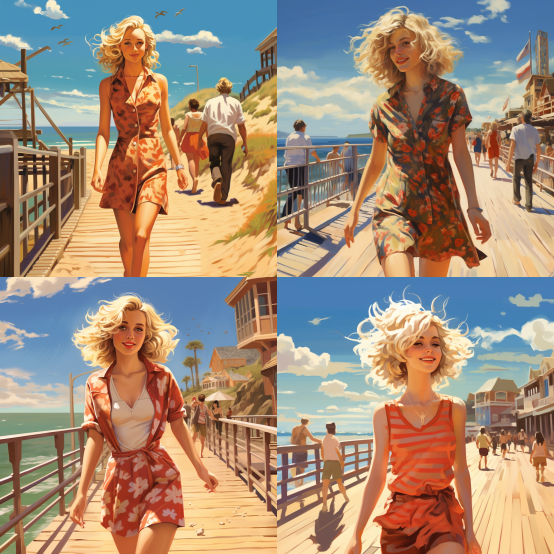
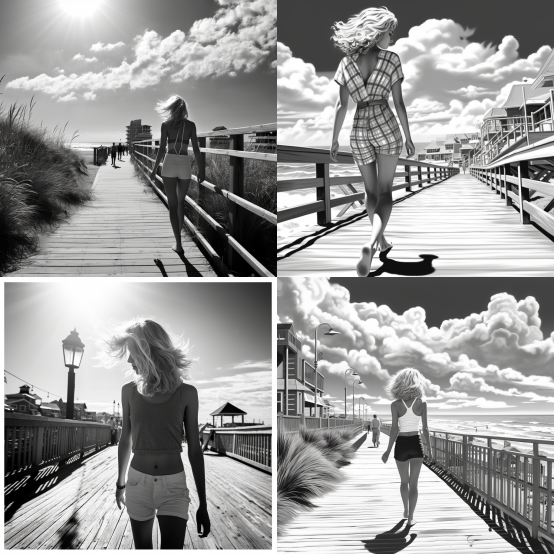
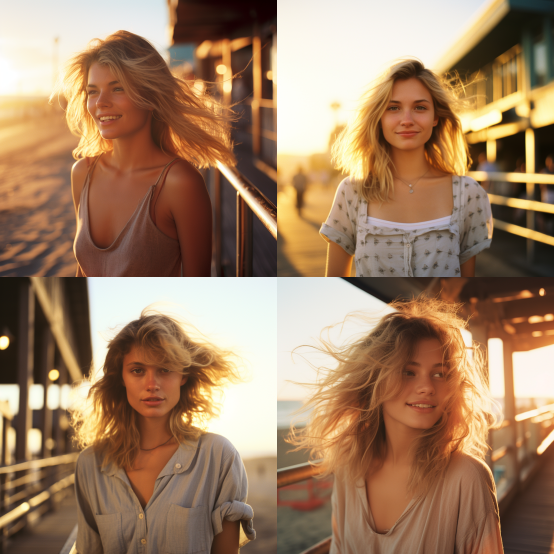
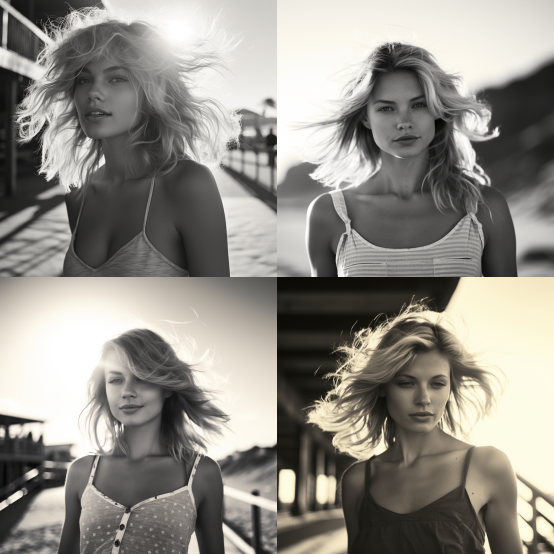
The first way is by adding a color scheme to your prompt. It helps to understand color psychology or have a good grasp of how color affects mood and emotions. For example, you can opt for a black-and-white image to give it a sense of mystery or use pastel tones for a softer, more youthful feel.
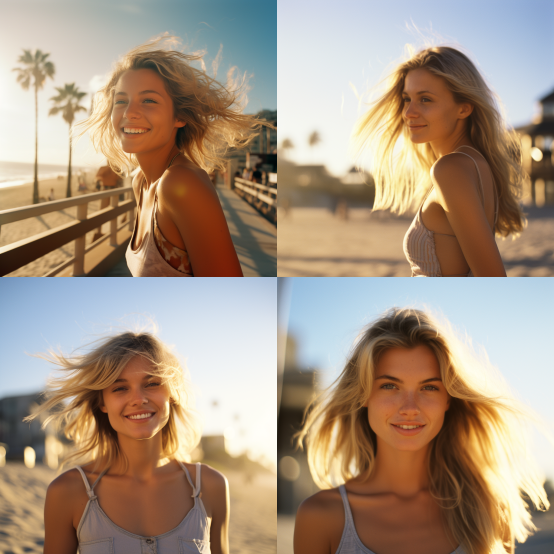
Another way to change the mood of your image is to add words to your prompt that reflect the emotions you want to convey. For the lake example we used earlier, consider how different descriptive words can change the final image. For example, using the word serene in your prompt will result in a very different image than if you used the word mysterious or dark.
3. Include Visual Style Elements in Your AI Art Prompts
After setting the mood in your image, it’s time to move on to visual references. This can be more challenging, especially for those who don’t have a background in visual language, but you can pick this up quickly.
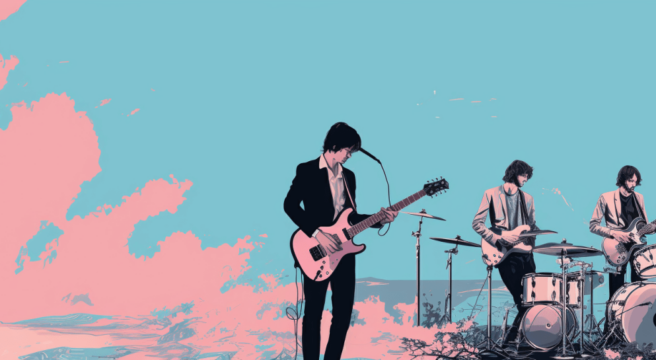
For this portion of your prompt, you’ll need to specify what medium you want for your image. This can be a photograph, an illustration, a cartoon, a painting, a collage, etc. It helps to get as specific as possible here. For example, if you want a photo, do you want a film still, a product shot, a street portrait, or something else? Similarly, if you want a painting, do you want a watercolor, an oil painting, or another type of painting?
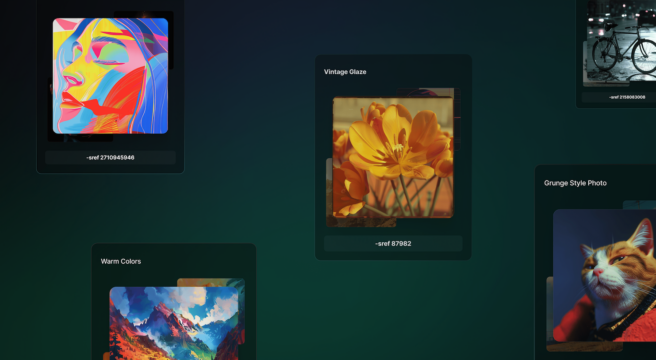
It helps to use the phrase in the style of followed by the name of a photographer, artist, art style, or any other reference point you have. For example, if you want to create AI images of landscapes, you may include the phrase in the style of Ansel Adams in your prompts.
These references will help you get closer to the image you have in mind but don’t feel like there’s no hope if you don’t have a background in art. As you get deeper into AI art, you’ll start to pick up these references and be able to use them in your prompts. It’s a learning process, so don’t give up.
4. Experiment With Details That Can Drastically Change the Final Image
Next up is adding some final details to your prompt to give it that final polish. These sorts of visual details can also take some time to learn. Have fun experimenting with them to create some truly stunning images.
First up is the framing and composition of your image. These two elements will determine how much of your subject is visible in the image. You can use film terms to help you get more accurate here. These of just a few examples you can try out:
- Close-up - shows the subject from the top of the shoulders to the top of the head
- Medium shot - shows the subject from the waist up
- Long shot - shows the subject in the full body shot
Be sure to experiment with angles like low-angle shots and high-angle shots to see how these change the look and feel of your image.
Once you’ve got the composition down, move on to the lighting of your image. Lighting can change the feel of your image, so try out different options. Some types of lighting you can try include:
- Backlighting - used to create a silhouette or a more mysterious feeling image
- Soft light - creates a softer look and is often called beauty lighting
- Hard light - creates a more intense look
- High key lighting - useful for dream sequences because it creates overwhelming brightness
- Low key lighting - creates more shadows and is used to create a sense of mystery, suspense, or drama
You can use natural lighting terms like golden-hour lighting to replicate what the light looks like in a natural setting.
If you have more extensive art knowledge, use this to your advantage when creating Midjourney prompts. You can add terms like these to get a more specific look:
- Film types
- Cameras names
- Camera lenses
- Textures
Finally, specify the amount of detail you want in your image. If you want an image that is realistic, specify that rather than leaving it up to the AI image generator. Some terms you can use to start experimenting with this include:
- Dreamscape
- Abstract
- 8bit
- Ultrarealistic
5. Know Platform-Specific Terms and How They Work
Finally, get to know the AI image generator you’re using. Each one has its own specifications that affect the output you will receive. Some AI image generators prefer shorter prompts while others will do better with more details included. Do some research before getting started so you know what to expect.
Some image generators require that you use specific wording to achieve certain results and they may even have platform-specific commands and tools. For example, Midjourney has a list of parameters you can add to your prompts to change certain aspects in the final image. With Midjourney, you can change the aspect ratio of your final image, switch to Niji mode to create anime-style images, use the tile parameter to create seamless patterns, and much more.
💡 To create the best Midjourney prompts, learn what these parameters are and how to use them.
Quick Tips for Perfecting Your AI Art Prompts
This may seem like a lot to take in, but as you start to incorporate these details into your prompts, it’ll get easier. You can also use these quick tips to get the hang of it and learn as you go:
- Write a base prompt and see the results you get from it. Add in some details and run it again to see how it changes. Keep doing this to see what details you like and which ones you can do without.
- As you create more AI images, take notes on what works and what doesn't. Jot down keywords that added something you like to an image for future reference.
- Get comfortable with and try to learn visual vocabulary. Learning camera angles, shots, lighting techniques, art styles, etc. will help you create truly stunning AI images.
- Before writing an AI image prompt, take your time deciding what you want the final image to look like. This will help you get specific in your prompting.
- It’s always a good idea to look at and explore what others are creating. You can learn a lot from looking at other creators’ prompts and images. This is a great place to get inspiration and start experimenting with new prompts. For example, be sure to check out Freeflo’s huge library of free AI images and prompts. You can grab these prompts and create your own images with them. You can also change them up a bit and see how the result changes with these adjustments.
- There are so many people who are just starting to experiment with AI image creation, so don’t be afraid to reach out and learn from this massive community. Use social media, forums, and even the Midjourney Discord server to meet others getting into AI.
Conclusion
Learning how to make AI art isn’t hard, it just takes some practice. The key to great AI images is always going to be great AI art prompts. Do your best to get specific, avoid unnecessary details in your prompts, and take note of what works and what doesn’t.
The more prompts you write, the easier it’ll get. You’ll even find that you may have a preferred prompt structure or keywords that give your images your own perspective. Don’t forget that you can always get help from the huge AI image creator community, so reach out and make friends.
Just like everything in life, this is a learning journey so enjoy it and recognize your progress as you go. Happy learning!