If you haven’t tried using Midjourney to create AI images, this is your sign to do it! Not only does Midjourney produce photo-realistic images that you can use in your professional work, but it’s also easy to use.
If you think the AI train has left you behind, rest assured that it’s never too late to get started! Let us walk you through how to use Midjourney so you can be on your way to creating stunning AI images in no time.
What Is Midjourney?
Even if you’ve never used Midjourney, chances are you’ve at least heard of it. It’s hard to ignore simply because of how impressive and useful this tool has become.
In basic terms, Midjourney is an AI image generator that takes a written text prompt and creates an image based on the prompt. What sets Midjourney apart is the realistic and high-quality images it produces. Even just a few months ago you wouldn’t expect an AI image generator to be able to create images of this quality, but the technology has been growing quickly.
Midjourney can create all sorts of images based on the prompts you give it. This means you can create digital art, photos, collages, drawings, paintings, and anything else you can think of. You can select the aspect ratio for each image you create, making them perfect for any project you’re working on. Since you will create images from text prompts, you can let your imagination run wild and produce an image of any scenario you can dream up.
Updates are constantly being made to Midjourney, which means it will only get better. New features are added all the time to make the scope of what Midjourney can do even larger, giving you more to experiment with. There are already quite a few parameters and commands to make your image creation more flexible, so be sure to try these out and learn more about them on your journey.
What Can You Use Midjourney For?
One common question users have about Midjourney is what they can use their images for. If you have a paid plan, you can use your images commercially. This makes them incredibly useful for all types of personal and commercial projects you are working on.
For example, a marketing team can create images with Midjourney and use them for social media, email campaigns, blog posts, and even for branding. This will cut down the amount of time it takes a team to create custom images or find stock images that haven’t been overused.
For designers, AI images are perfect for giving life to mockups and portfolio projects. They can also provide inspiration for new designs, photo shoots, and product images. You can also create AI images for mood boards that describe what you want perfectly.
It’s important to note that you can’t copyright the images you create on Midjourney, so you don’t own them, but you can use them for your personal or professional projects.
How to Get Started on Midjourney
Now that you know a bit more about what Midjourney can do, it’s time to give it a go. Follow these first three steps to set up your Midjourney account and get your subscription:
Create a Discord Account and Log In

Something that throws people off a bit is that creating images with Midjourney is done through Discord. This means you’ll either need to create a Discord account or simply log in to your already existing account. Discord is free and you can use it on your web browser, as a desktop app, or as a mobile app.
If you’ve never heard of Discord, think of it as a social interaction platform where you can interact with other users who share similar interests. Within Discord there are different servers, you can think of them as communities or spaces, you can join to interact with others. Many of them are small and private, like for a friend group or a softball team, but others are massive and public, like some based around a specific video game.
You can join public servers as you please, but you must get an invitation to join a private server.
You need Discord to use Midjourney because you’ll communicate with the Midjouney bot in text form when you send it your image prompts.
To create your account, head over to the Discord website and fill out the necessary information. Once you’re logged in, the next step is to sign up for Midjourney.
Sign up for Midjourney
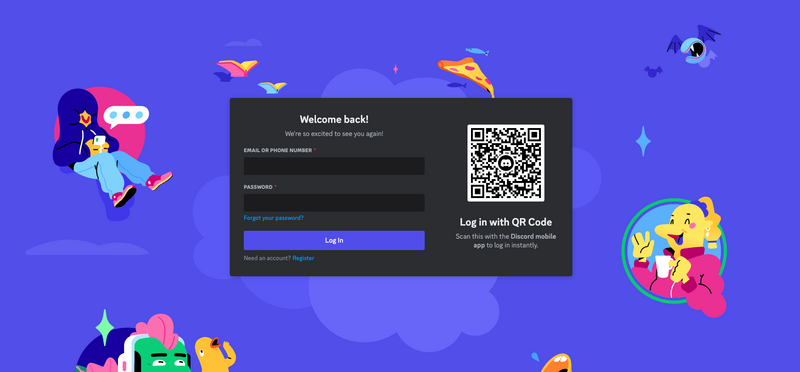
With your Discord account all setup, now navigate to the Midjourney website and sign up. You can scan the QR code with your Discord app or just use your Discord login information and authorize the Discord bot.
Now, when you open up Discord you should see the Midjourney logo on the left-hand side of the page. When you click on it, you’ll see all the rooms within the Midjourney server.
Get a Midjourney Subscription
Before you can start creating images, you have to get a Midjourney subscription. You can purchase a Midjourney subscription on their website or use the /subscribe command in Discord to get a link to the subscription page.
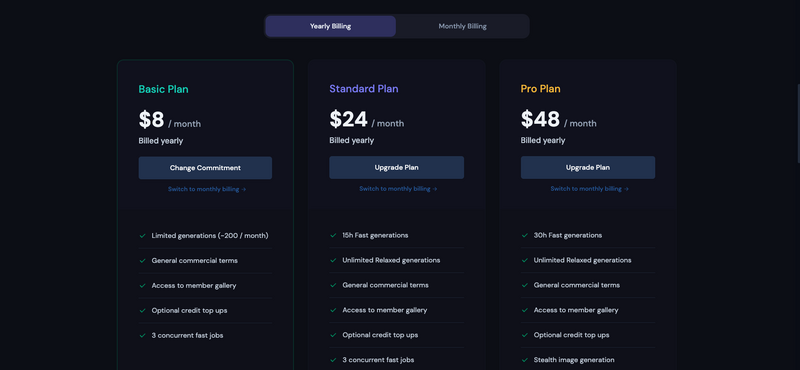
Currently, they have four different subscription tiers:
- Basic: $8 a month, billed annually.
- Standard: $24 a month, billed annually.
- Pro: $48 a month, billed annually.
- Mega: $96 a month, billed annually.
Midjourney used to give out 25 free credits to new users, but because of high demand, this is no longer the case. You can’t use Midjourney for free and will need a plan even if you just want to test it out.
How to Use Midjourney to Create Images: Step By Step Guide
With your account set up and your plan activated, it’s time to actually start putting Midjourney to use.
Find a Newbie Channel
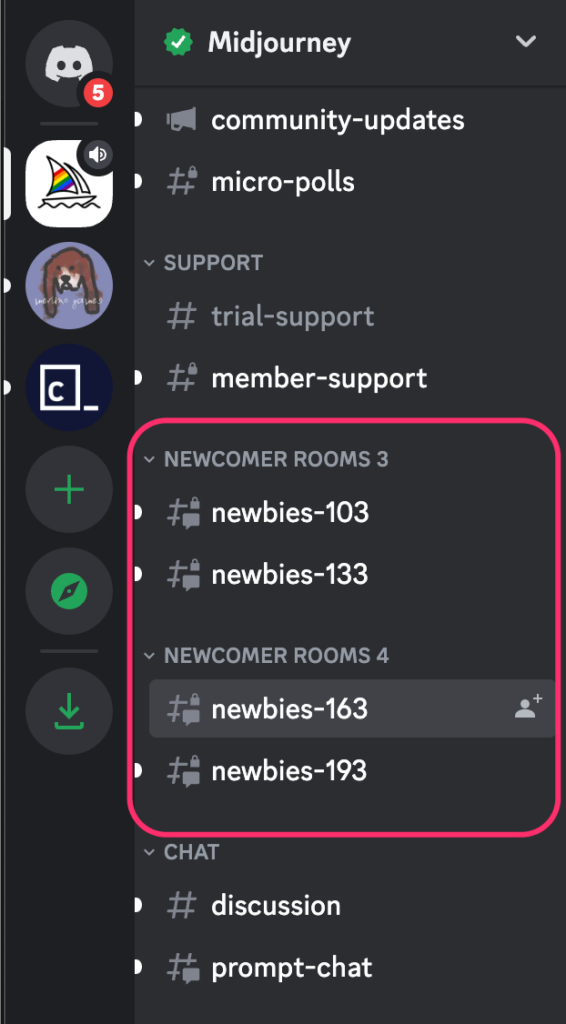
Before you get overwhelmed by Discord and all the channels within the Midjourney server, let’s start with the newbie channels.
Scroll down the menu on the left-hand side of your screen until you see a section with the name Newcomer Rooms. Underneath this, click on any rooms that say newbies and then a number to enter the room. You will then see what looks like an old-school chat room where you can see other people’s messages and type in your own. This is where you will be sending your image prompts to the Midjourney bot.
There are pros and cons associated with these rooms and it’s up to you if you want to use them. One great thing about them is that you can see what other people are creating, get ideas from their images, and learn from their prompts. On the other hand, all the prompts and images can get overwhelming and distracting. If this is a concern for you, there’s always the option of sending a direct message to the Midjourney bot and creating your images in a private, one on one conversation.
Even though this communication is private, keep in mind that all of the images you create will still be visible to the public in the members gallery.
Create an Image Using the Midjourney Command and Your AI Image Prompt

Finally, it’s time to send your prompt to the Midjourney bot and get your image. To do this, you’ll have to use a specific command. In this case, use the text box to type /imagine followed by your prompt.
This command lets the Midjourney bot know that you want it to use that prompt to create an image. When you’re ready, hit enter and the bot will get started on your image. You can see your request in the chat room screen and its progress. A grid with four images will start to appear. Those are your image options loading.
Midjourney has a whole list of commands that you can use to get more info, change your settings, switch modes, and more.
Select an Image to Upscale

Once your image grid is ready, you’ll see four clear images and some options below the image:
- U1, U2, U3, U4: These options are for upscaling an image. Upscaling will make an image larger and add more detail to it. If you like one of the images in the grid and want to save it, use the corresponding U option. Top left is U1, top right is U2, bottom left is U3, bottom right is U4.
- V1, V2, V3, V4: These options are for creating variations of an image from the grid. If you like one of the images but want something a bit different, select the corresponding V option and the Midjourney bot will create 4 new images in the style of the image you select. The numbers work the same as with the upscaling option.
- Re-roll: The icon with the arrows going in a circle gives you the option to re-roll, or, in other words, the bot will take the same prompt and create four new images for you to choose from.
Upscale Your Image and Customize It Further

When you see an image you like, click on the upscale option for the image you want to save. Scroll down and wait for the bot to load the image. Now, you'll see more options appear below the image:
- Make Variations: This works like the previous variations option and will make variations of the image on your screen.
- Zoom Out: There are two main zoom-out options: 2x and 1.5x. These options allow you to extend the canvas beyond what it originally showed.
- Custom Zoom: This is another zoom option but rather than just zooming out, it lets you alter your prompt before zooming. This lets you get more creative and give more input as to what you want in the finished image.
- Make Square: Selecting this option will return another image grid displaying four images like the one you selected but in square canvas.
- Arrows: Use these to pan/expand your image in the direction the arrow is pointing. For example, f you select the up arrow, the Midjourney bot will extend the canvas upwards.
- Heart: Clicking this option saves the image into a folder of your favorites for easier access in the future.
- Web: This option takes you to your account where you can see all your jobs. Here, you can save this image to your favorites, save it to your computer, and see all the information about this job, like the prompt and date it was made.
Save Your Image
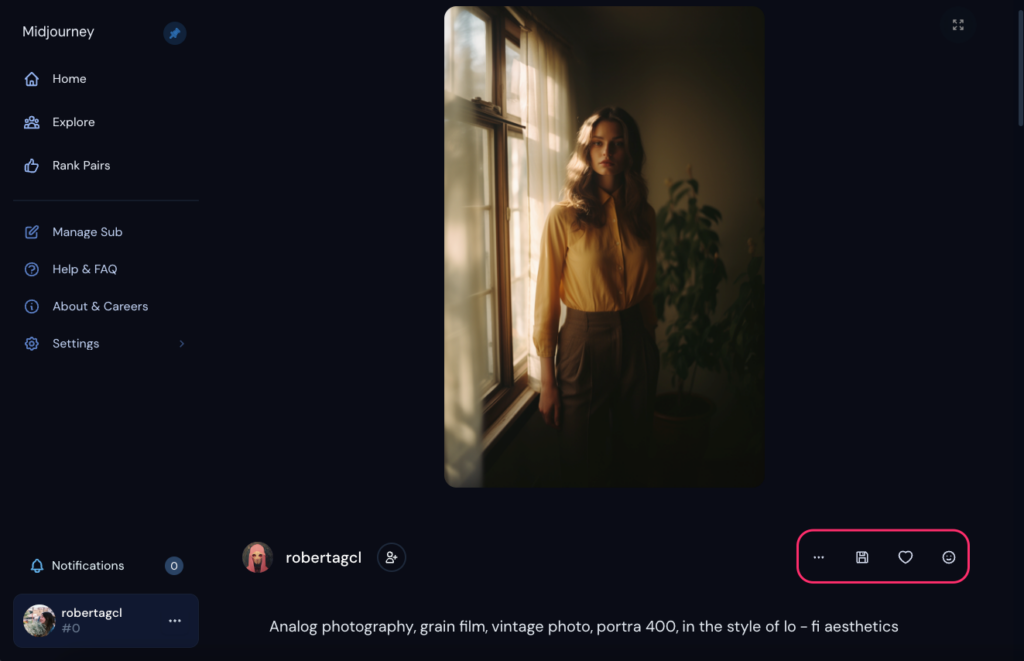
There are two main routes you can take to save an image:
- When your image loads on Discord, click on it to expand it. Right-click on the image and select the Save Image As… option.
- Click on the "Web" option below the image to go to your profile. Below the image, click on the save icon to download the image.
That’s it, you have a new image that is ready to be used in your creative work!
Midjourney Tips to Make Your Experience Better
Because Midjourney has a lot of commands, parameters, and settings you can play around with, it can get overwhelming. You may not get the results you want right away, but that doesn’t mean you should give up on it. With some practice and feedback, you’ll get the groove of it and get some really impressive images.
Through experience, here are some useful Midjourney tips to make your AI image creation more enjoyable:
- Message the Midjourney bot in a private chat to create images when you don’t want to get distracted by the hustle and bustle of the newbie rooms.
- Use the different chat channels to connect with others. Use the community to get feedback on your prompts or to get help when you’re stuck.
- Look at the list of channels available and add any you think will be useful as you learn and grow. You can also remove any that are cluttering your workspace. To see the channels available click on Channels & Roles and then Browse Channels.
- Do your best to stay up to date with the latest commands, parameters, and features. Get to know the existing ones by experimenting with them. All of this will help you create better images.
- Look at it as a learning process. You shouldn’t expect to be a pro on the first try. It’s all about letting your creativity flow and experimenting with everything available.
How to Write Midjourney Prompts That Return Great Images
Writing Midjourney prompts can be a struggle at first, especially if you don’t have much of an art or visual style vocabulary. You will pick up terms and learn about things like composition and lighting along the way, so don't get stuck here. Focusing on getting your prompt right by being as descriptive as possible will go a long, long way on Midjourney.
On top of getting to know Midjourney and Discord, you’ll also have to learn how to write effective prompts. Use these tips to write the best Midjourney prompts and get great results:
- Get specific. As my high school English teacher used to say, “Specific is terrific!” This applies when writing any AI prompt because you want to give the bot as much information as possible. For example, if you want an image of a lush monstera don’t just ask Midjourney for an image of a plant. It won’t know what specific plant you’re thinking of.
- Incorporate details that go beyond the subject of the image. This is where knowing terms around art styles, art movements, mediums, artists, composition, lighting, mood, focus, and even film types will make all the difference. Look for descriptive terms that will change the overall look and feel of your image while keeping the subject the same. For example, if you want a vintage-looking image, you can use terms like grain film or analog photography.
- Learn as you go. As mentioned earlier, not everyone has extensive art knowledge or the vocabulary to explain visuals, but these are things you can definitely learn as you go. Use the Midjourney community to learn, look for additional resources outside of Midjourney, and experiment as you learn.
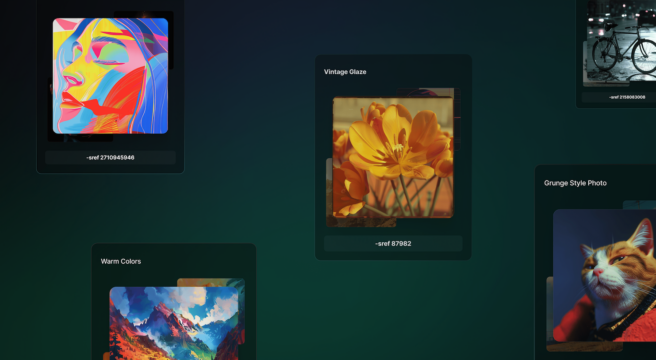
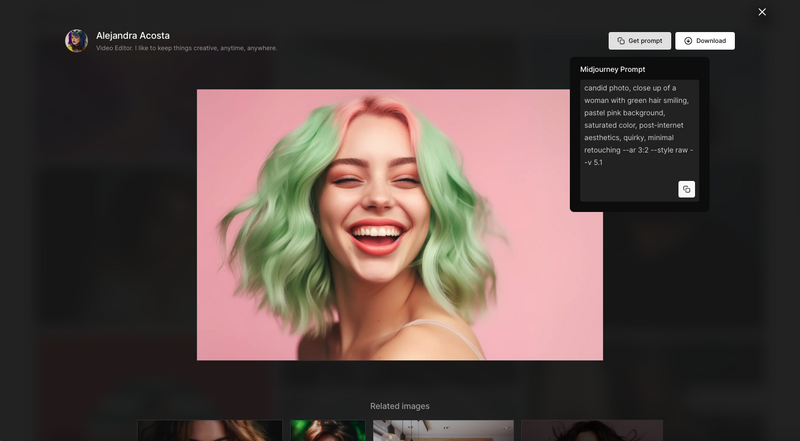
- Use free AI art prompts. If you’re not sure how to write a prompt or need some inspiration, there are tools out there that can help. For example, Freeflo has a huge library of AI images and Midjourney prompts you can use for free! Browse the library of images and when you see something you like, click on it and copy the Midjourrney prompt. You can paste this into Midjourney and generate your own version of the image. You can also make changes to the prompt to generate the image you have in mind.
You're Ready to Create an Image With Midjourney
Midjourney can be intimidating, especially if you haven’t experimented with AI tools before. There’s nothing to be scared of since it’s actually quite easy to use.
Don’t get discouraged even if you feel overwhelmed or aren’t getting the results you want right away. There are tons and tons of resources to help you learn and become a Midjourney pro in no time. Be sure to use tools like Freeflo to write better prompts and experiment with everything Midjourney has to offer. Soon enough, you’ll be the one helping the newbies with their prompts.